Prerequisites
- Download OVF file from Cisco.com. Use a CCO login that has access to the WSA download section.
- Ensure you have received a PAK License ID from Cisco. This should have been received via email
- Generate a License file from cisco.com/go/license
Installing Ironport Cisco Web Security Virtual Appliance
- Log into your VMware VCentre Console. Deploy OVF file
2. Browse to OVF file location
3. Specify Name for the Device. Eg vWSA-01
4. Specify the Datastore to install the Device.
5. Select ‘Thin Provision’. Default is Thick provision, this will consume 1TB of data, includes whitespace.
6. Map the Network to the correct Port Groups.
7. Power on the VM
8. Default username and password
U: admin
P: ironport
9. Set the Time on the vWSA
Settime
MM/DD/YYYY HH:MM:SS
10. Commit changes. Commit cmd
11. Copy license to vWSA. FTP to vWSA device and browse to the ‘Configuration’ Directory. Copy the license.xml to this directory.
12. Upload License. SSH to the vWSA device. Type ‘loadlicense’ select option 2 to upload from xml file.
13. Accept License Agreement
14. Browse to the GUI. https:// 192.168.0.2:8443 or http://192.168.0.2:8080
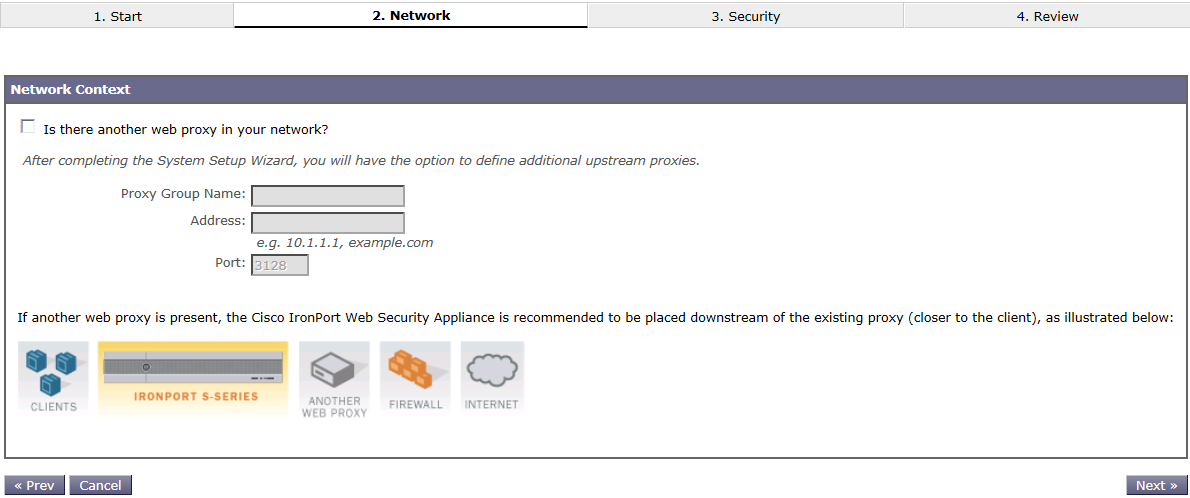
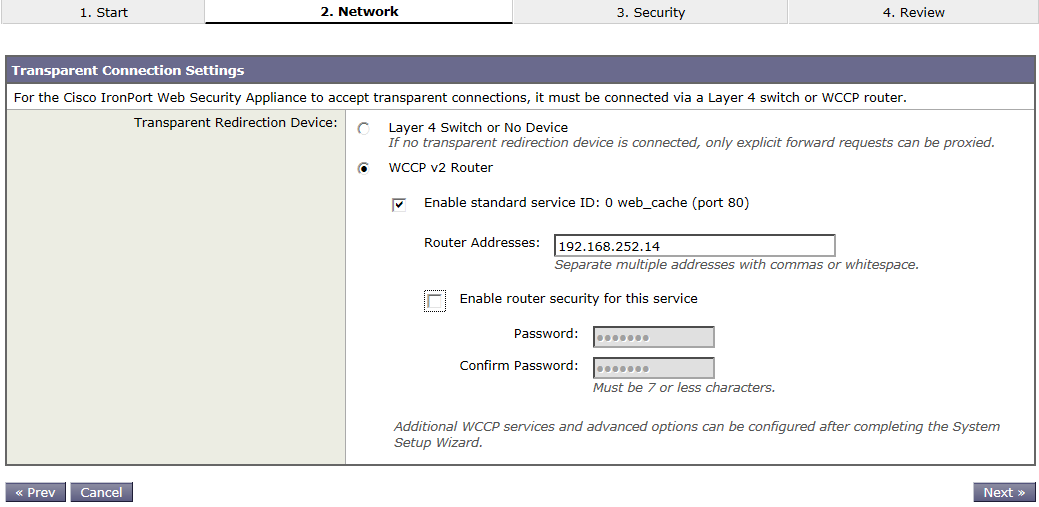
15. Run System Setup Wizard via the System Menu.
16. Click ‘Install this Configuration’ to complete the setup wizard.
This is just the initial install steps for Ironport. I’ll write up some more posts on Ironport configuration in the future. There are a lot of variations to the configuration.


